telepresence.gov.au : NTS Online Booking System Australia
Organisation : National Telepresence System (NTS)
Facility Name : Online Booking System
Country : Australia
Website : https://www.telepresence.gov.au/
| Want to comment on this post? Go to bottom of this page. |
|---|
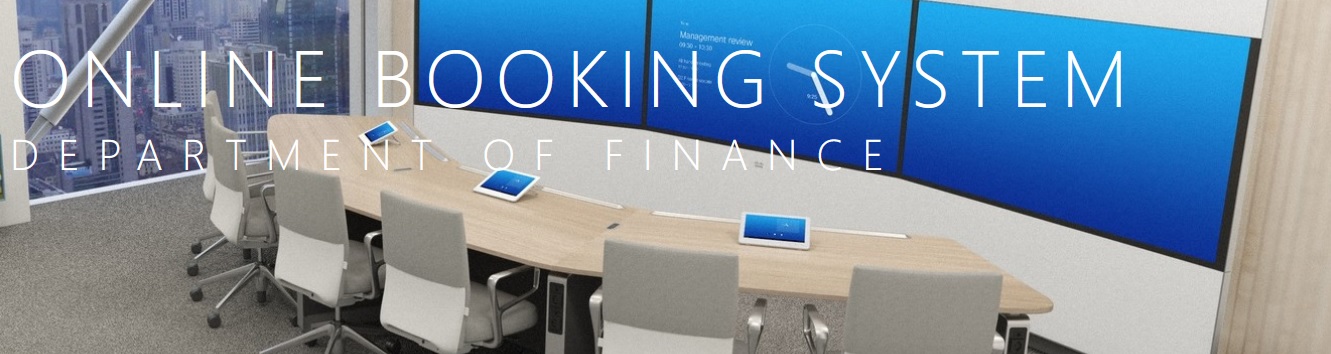
NTS Online Booking System
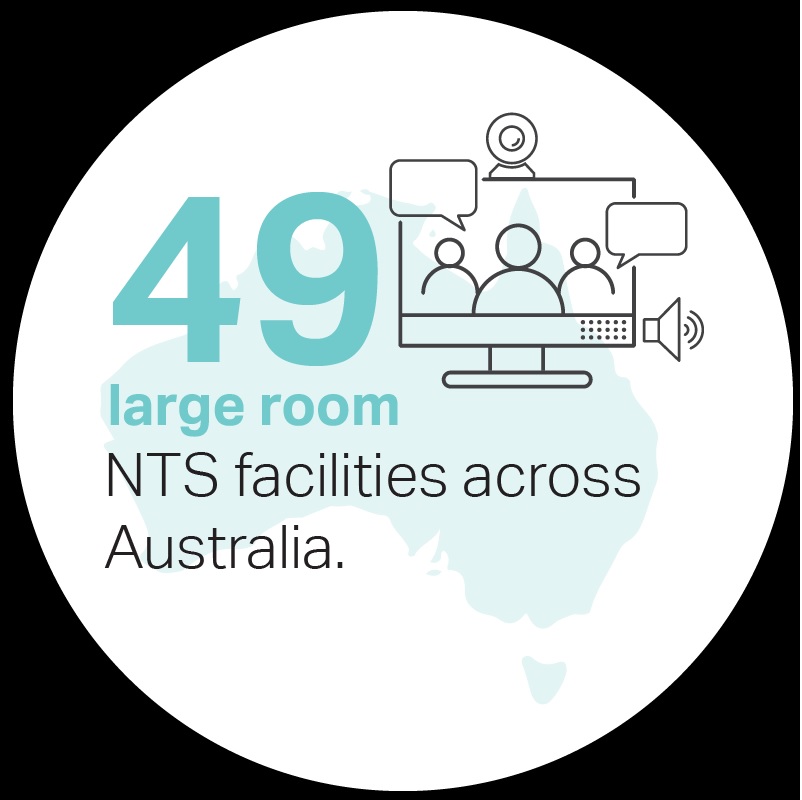
The Online Booking System (OBS) for the National Telepresence System (NTS) allows you to book telepresence units in many sites across Australia.
Related / Similar Facility : Australia COVID-19 Vaccines Eligibility Checker
Who Can Register?
If you have an “…@gov.au” email address, you can register for an account
Please Note:
In accordance with the Privacy Act 1988 (Cth) and the Australian Privacy Principles, personal information collected by the Department of Finance (Finance) from you will be used to allow Finance to administer and manage the Online Booking System (OBS) for the National Telepresence System (NTS).
Finance will collect identifying personal information about you (such as your email address, name or phone number). You are not required to provide any other personal or sensitive information.
If Finance does not collect this personal information from you, Finance will not be able to provide you with room bookings under the OBS. Finance may disclose your personal information to its ICT contracted service providers, to ensure that it can continue to maintain and administer the OBS to the highest standard.
Finance will not provide your personal information to an overseas recipient. Finance may be required to share your personal information with other Australian Government entities or as otherwise authorised by law.
Further information on how your personal information will be handled, including how to make a complaint about the handling of your personal information, is contained in Finance’s Privacy Policy available at https://www.finance.gov.au/publications/policy/department-finance-privacy-policy.
How To Log Into OBS?
1. Go to https://obsfinance.microsoftcrmportals.com/ on a web browser. Note: You can also save the link to bookmark/favourite for quicker access.
2. For the first-time users, click on Sign In at the top right of the page. Otherwise, registered users can proceed to Step 5 after signing in with the correct username and password. ‘Forgot your Password?’ option is available to recover login access. Portal Account may be locked after five invalid login attempts.
3. A registration form loads. Copy the email and paste onto Username. Enter the required information and click on Register.
4. Once signed in successfully, user will be directed to Profile page.
5. Scroll down the screen and navigate to ‘Your Information’. Provide more information (i.e. time zone, mobile number, etc.)
6. Click the ‘Update’ button.
7. A message ‘Your profile has been updated successfully’ is displayed.
Creating a new Conference Request in OBS Portal
1. Click on Conference Requests from the menu list.
2. Conferences page is displayed. Click on ‘Create New Conference’.
3. The form loads with the heading ‘New Conference’.
4. Check that Requester field is set to current Portal User.
5. Enter the mandatory information:
a. Title Online Booking Service Dynamics 365 Guide
b. Start (user cannot enter past date)
c. End (value can be modified, but by default will be set to 30 minutes after the start time)
d. Host Contact (can be changed, but by default will be current Portal User)
e. Booking Type f. Office Phone (can update the number, but by default will be copied from Portal User’s office phone)
6. If applicable, enter other information about the conference:
a. Description
b. Conferencing Functionality Not Required?
c. Mobile d. Special Descriptions
7. If user tries to submit the record without selecting any rooms, an error message will display.
8. Proceed to the next guide ‘Selecting Conference rooms in OBS Portal’ to complete the booking.
Selecting Conference rooms in OBS Portal
1. User is continuing from a new Conference Request. After providing basic details, scroll down the screen to ‘Available/Selected Room(s)’ section
2. To select a room, click on the green + (plus symbol) icon.
3. Selected Room(s) are listed on the right-hand side: Available Room(s) are listed on the left-hand side. To view Room/Unit details, click on the name (i.e. CPO Adelaide – LTD). To view Room/Unit details of the selected room, double-click the mouse on Room Name.
4. Multiple rooms can be booked. ‘Refresh Rooms’ button is available on top right corner. Clicking on the button will reload available rooms and reset the selected rooms back to previous state and selected room has moved to left-hand side and now bookable
5. For the selected room(s), select a value for Attendees and tick a checkbox for Hosting (Only one room can be selected as the main host in conference). Selected rooms can be removed by clicking on the red trash bin icon. Note: a warning message will display when the number of Attendees exceeds actual room/unit’s capacity. However, this will not restrict the ability to book a room/unit.
6. To finalise, user can either save as a draft or submit the request to OBS
7. A record is created with a message ‘Conference Request saved successfully!’ Clicking on the ‘Conference Requests’ link will direct users back to Conference page
Contact
If you have any questions, please contact us using the information below:
Government Network Services Branch (GNSB) Service Desk
Department of Finance
T: (02) 6215 1800
E: ServiceDesk-GNSB@finance.gov.au